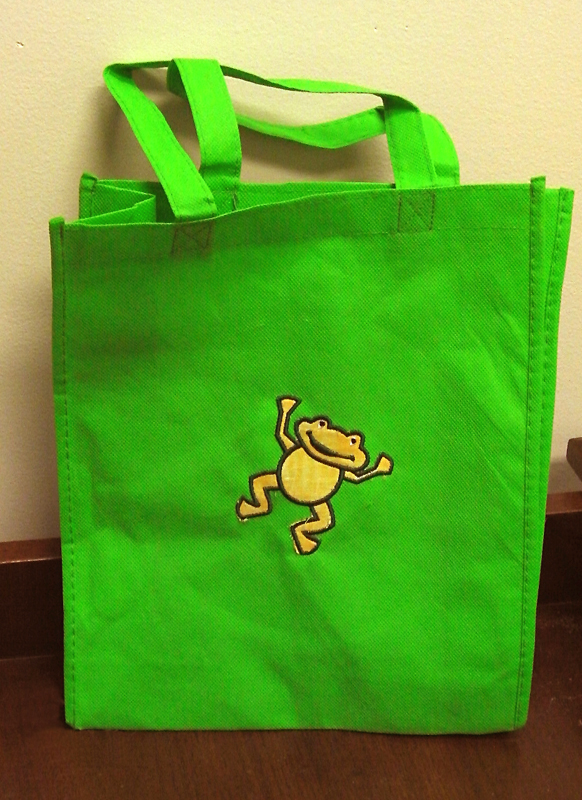

Project: Fun Frog Applique on a ToteUsing this simple applique shape, we created a fun, easy project you can try yourself. Pictured on the right, we pick a challenging material – a patterned canvas tote – and sew this fun applique, which is easy to customize by adding text, a name or monogram to it. Note: Design color sequence: 1. Mark stitch outline color; 2. Tackdown stitch; 3. Satin border/face detail; 4. Eye (white); 5. Eye (black) |
InstructionsYou’ll need the following:
|

[dropcap boxed=”accent”]1.[/dropcap] Create the shape. Load the design and set your machine to STOP after sewing the first color. Then, hoop the applique material and press START. The machine will sew the running stitch to outline the shape and stop. Unhoop the material and cut out the shape. |
||

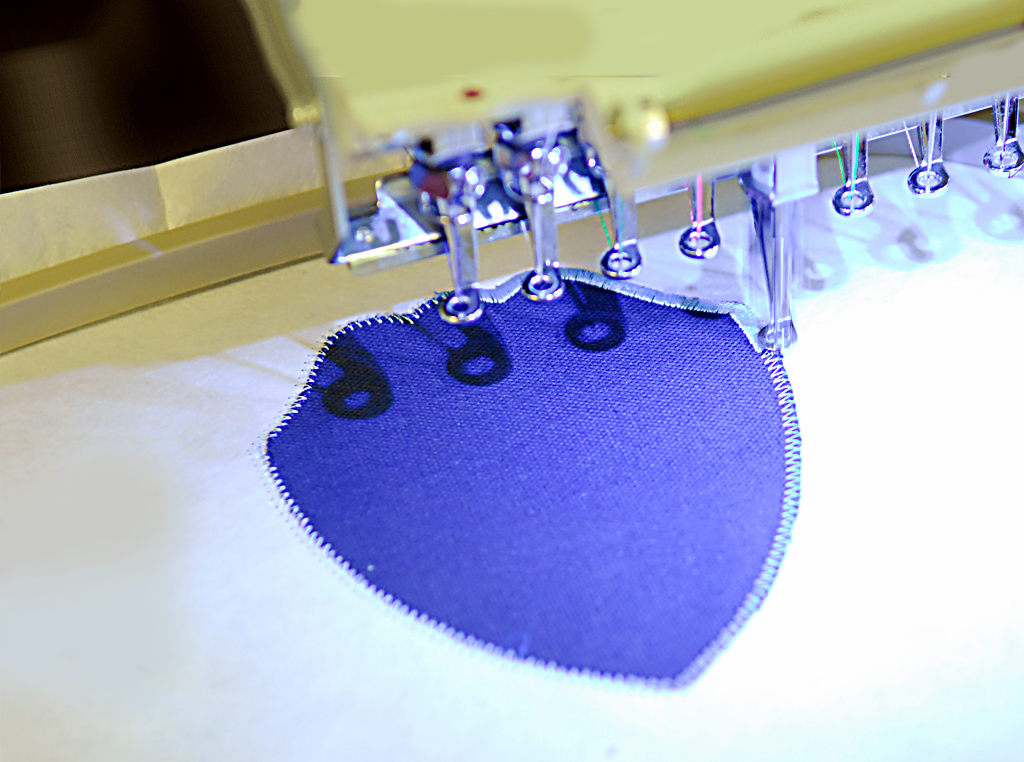
[dropcap boxed=”accent”]2.[/dropcap] Hoop the tote. Hoop the tote with cutaway backing, and water soluble topping (if textured). Use the same design and sew the first color again – the machine will pause and you’ll get an outline stitch to place the shape you cut out in step 1. |
 [dropcap boxed=”accent”]3.[/dropcap] Place the shape in the hoop. If needed, pre-spray the back of the shape with KK100 or other spray adhesive. Then, align the shape over the running stitch sewn in step 2. |
||

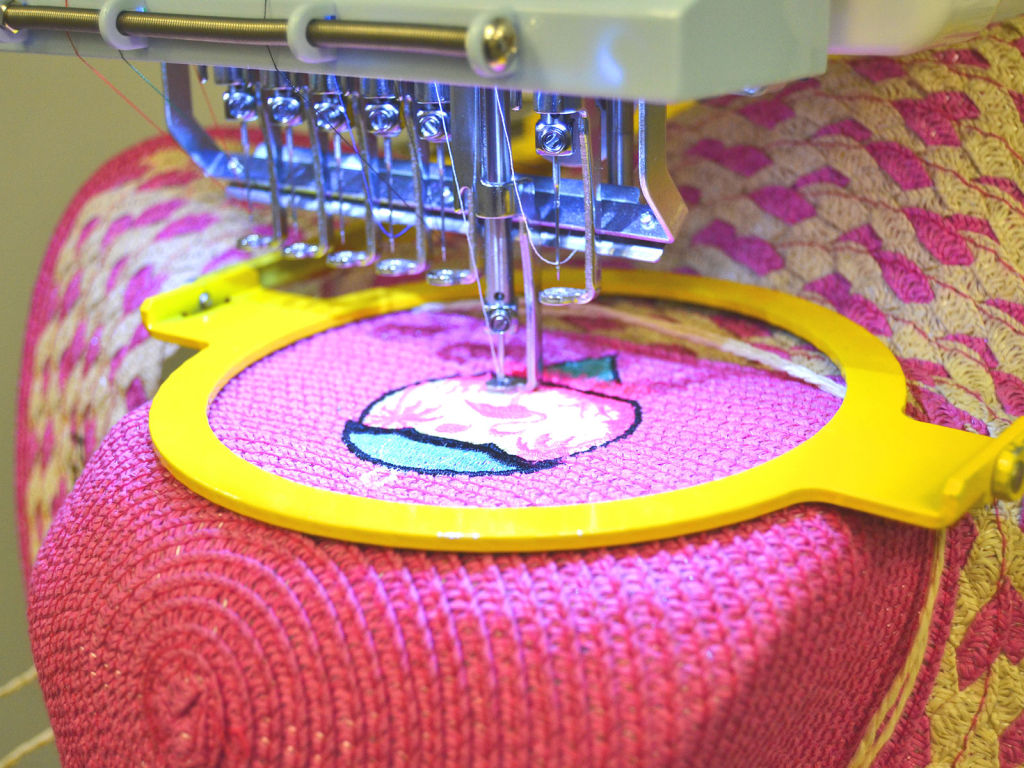
[dropcap boxed=”accent”]4.[/dropcap] Sew the tackdown stitch. After placing the shape, press START. The machine will then sew a light density satin (tackdown) stitch on the edges of the shape to hold it down. |

[dropcap boxed=”accent”]5.[/dropcap] Finishing satin. After the tackdown stitch sews, the final satin stitch will sew that creates a nice, thick border around the shape. Finally, the face detail on the frog sews last. |
||
|
[dropcap boxed=”accent”]6.[/dropcap] Finished! After peeling away the water soluble topping, you’re left with the design nicely on the bag. Bonus: try customizing the design a little by bringing the design into any lettering/editing software and adding a name. |
|||

