An Applique Project for your HAPPY Embroidery Machine
By definition, “applique” is the attachment of a piece of material to a garment or other sewable item for decoration or embellishment. In practice, applique is a useful embroidery technique for several reasons: it adds appeal (and value) with the additional media/texture/color to the project, especially when chosen to match the project style; the meaningfully-cut shapes can replace one or more elements in an embroidery design, reducing the number of stitches in the design, which reduces run-time; the fewer needle penetration points makes the design “kinder” to the garment or sewn item (such as a leather jacket).
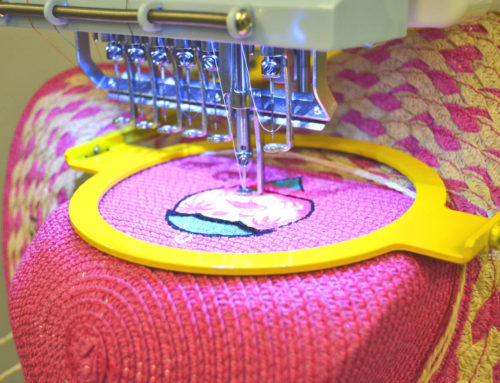
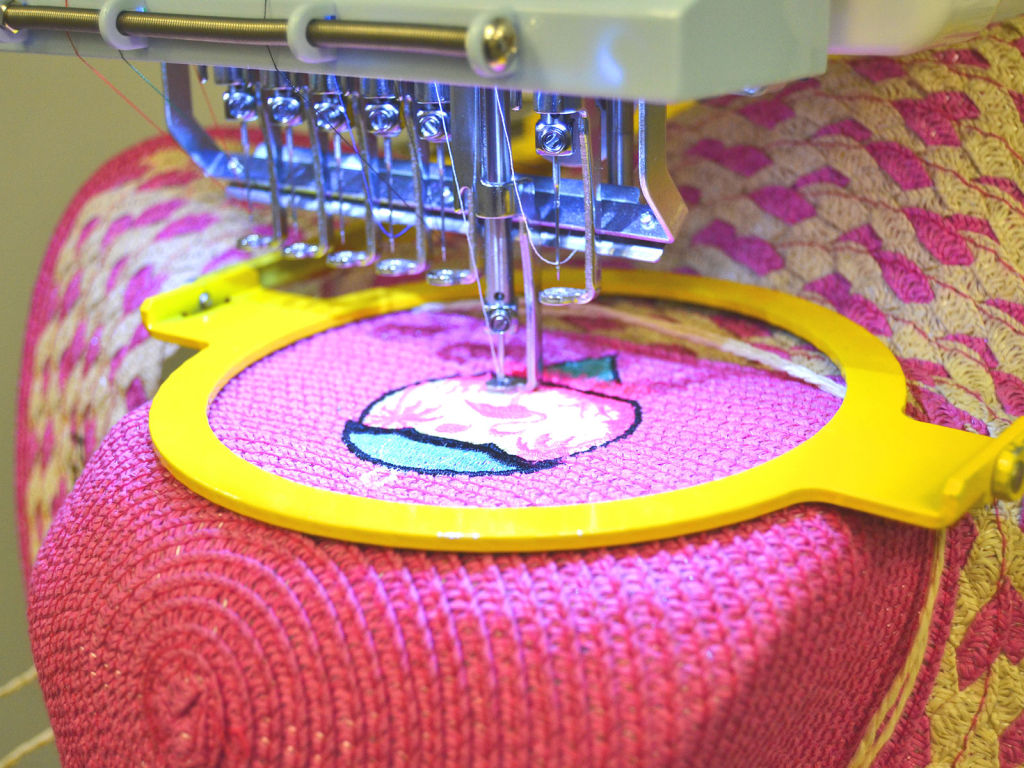
The process with an embroidery machine is simple: a design file is loaded into the machine that matches the size and shape of the applique piece. The machine first sews an outline of the shape onto the garment to mark where to place the shape, then pauses to let the operator align the shape onto the outline. The machine then resumes by very accurately sewing the edges of the shape into the garment, finishing the project.
 |
 |
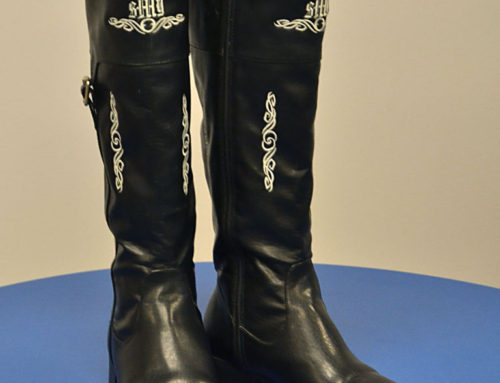
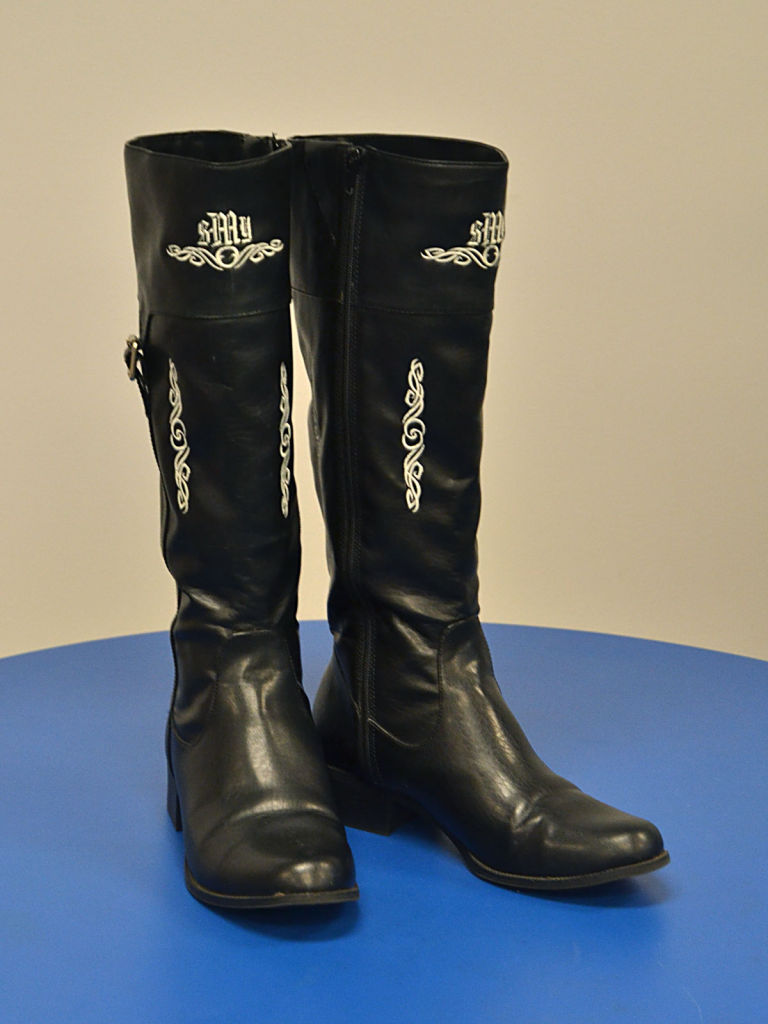
| Star applique project | Shield applique project |
Materials for this Project
- Happy Embroidery machine (with touch screen if you want to follow along exactly)
- Sew files (links to download in step 1)
- Any suitable applique material/fabric (the blue denim and purple paisley cloth in the examples are just suggestions)
- Scissors
- Any garment or test fabric you’d like to sew these shapes on
- Appropriate stabilizer for the selected garment
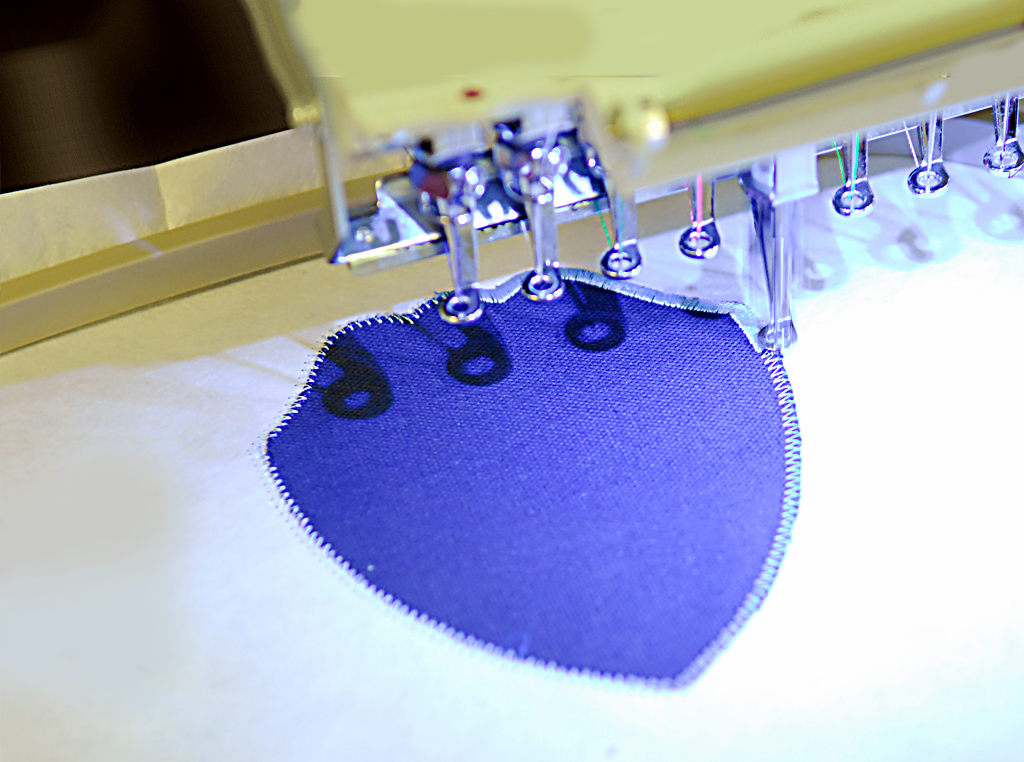
Creating and Sewing the Shield
This project creates the 4″w x 5″h shield shape shown in blue in the photo. Follow the illustrated directions below. Click images to enlarge.
[dropcap boxed=”accent”]1.[/dropcap] Load the design into the machine.Click this image to download, the design, which you can then transfer into your Happy machine. |
[dropcap boxed=”accent”]2.[/dropcap] Set the Stop/Frame out command while setting design colors (click the image enlarge and follow the steps). |
[dropcap boxed=”accent”]3.[/dropcap] Make the applique shape. Make your own shape by hooping some material of your choice, and sewing the first color of the design, giving you the shape shape to cut out. Then, unhoop the material. |
[dropcap boxed=”accent”]4.[/dropcap] Start sewing the applique on a garment.Hoop your garment. With the design set up in step 2, the machine sews the mark stitch and pauses. |
[dropcap boxed=”accent”]5.[/dropcap] Place the applique created in step 3 on the outline. Hold in place by spraying the back with adhesive. (Link). |
[dropcap boxed=”accent”]6.[/dropcap] Press START to continue sewing.The machine continues sewing, starting with a light density tackdown stitch. |
[dropcap boxed=”accent”]7.[/dropcap] A finishing satin stitch then sews on top of the tackdown. A satin border is optional, more for decorative effect. |
[dropcap boxed=”accent”]8.[/dropcap] Your project should look like this photo, depending on material or colors you might have chosen. |
Click on the images above to see more detail.
Creating and Sewing the Star
This project creates the 3″ x 3″ star shape shown in purpl/red in the photo. You can follow the same steps as above. A future posting will provide more details and illustration.

