[dropcap boxed=”accent”]1.[/dropcap] The wide-brimmed, floppy sun hat is tricky for several reasons: it doesn’t fit existing hat hooping systems; it cannot be hooped with traditional inner/outer ring hoops; and the material is thick and textured.
|
|
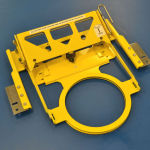
[dropcap boxed=”accent”]2.[/dropcap] Hooptech’s ITCS2 large clamping base has an optional 14cm round window, which worked well for this application. Just pull The lever at the top right corner to open and close the jaws.
|
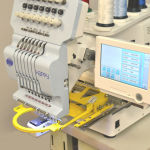
[dropcap boxed=”accent”]3.[/dropcap] The clamp system is so easy! Clip it onto the arms of the machine in the same way you’d install a normal hoop – open and close the jaws to insert your embroiderable item!
|
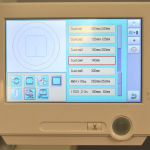
[dropcap boxed=”accent”]4.[/dropcap] You can load the hoop map for the window into your HAPPY machine to accurately position the design in the sewing field.
|
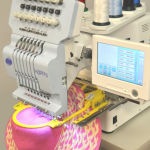
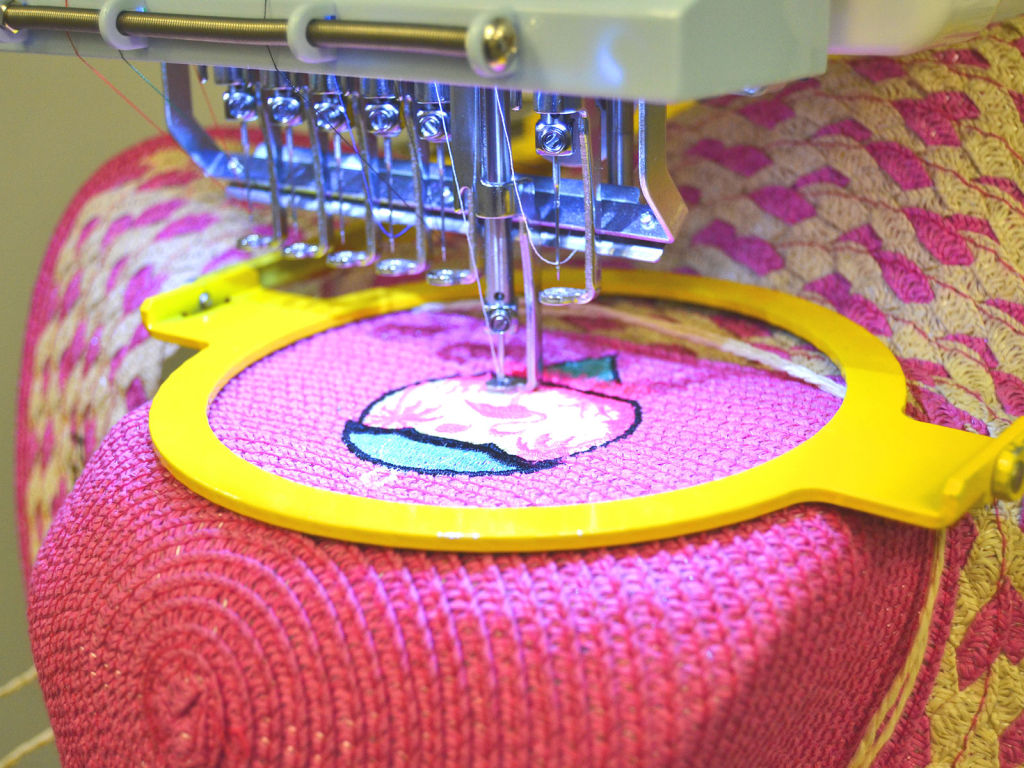
[dropcap boxed=”accent”]5.[/dropcap] Here’s the hat clamped onto the machine. The soft brim easily folded up through the back of the window and out of the way.
|
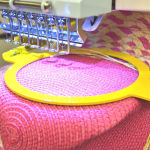
[dropcap boxed=”accent”]6.[/dropcap] With the Journey machine, the laser pointer makes it easy to spot the design visually directly on the hat.
|
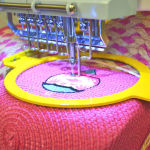
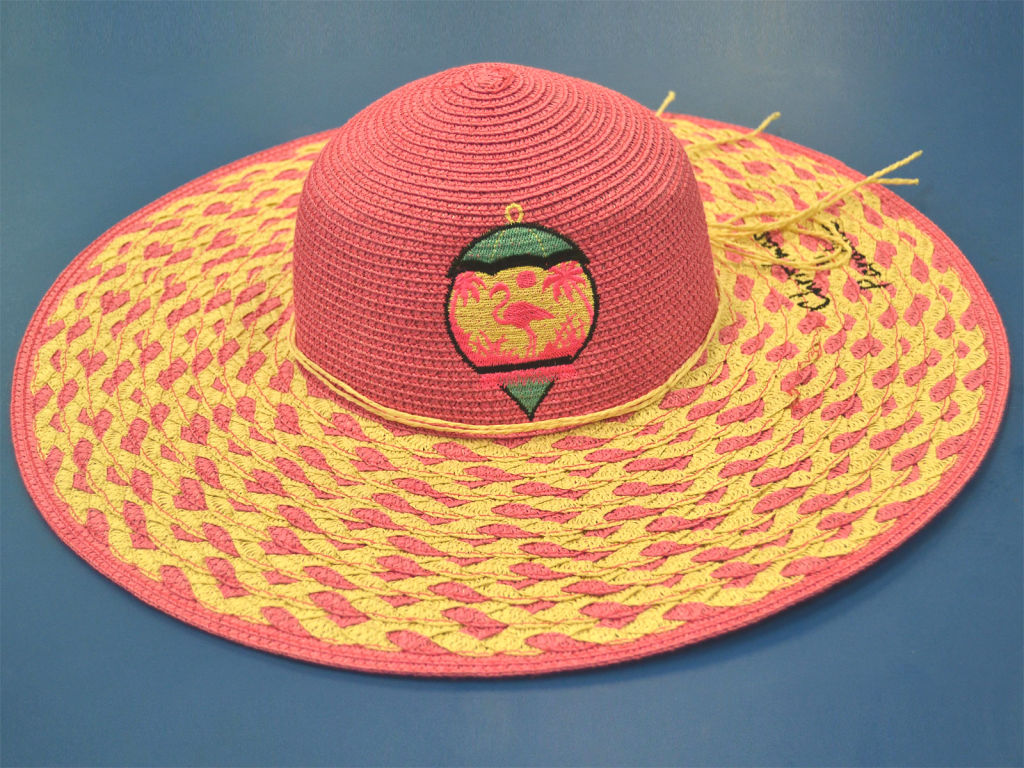
[dropcap boxed=”accent”]7.[/dropcap] When sewing the design onto the hat, we decided to embroider directly onto the bumpy weave and let the texture show under the embroidery. The machine sewed through the thick material with little fuss, using 75/11 sharp point needles.
|
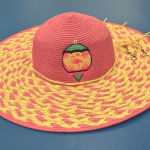
[dropcap boxed=”accent”]8.[/dropcap] Finished product! The texture showing under the embroidery made the design look more integrated with the hat.
|
|
